If you’re considering hiring me as your newborn photographer, you’ll perhaps like to know what happens during a newborn baby photoshoot? Yes?
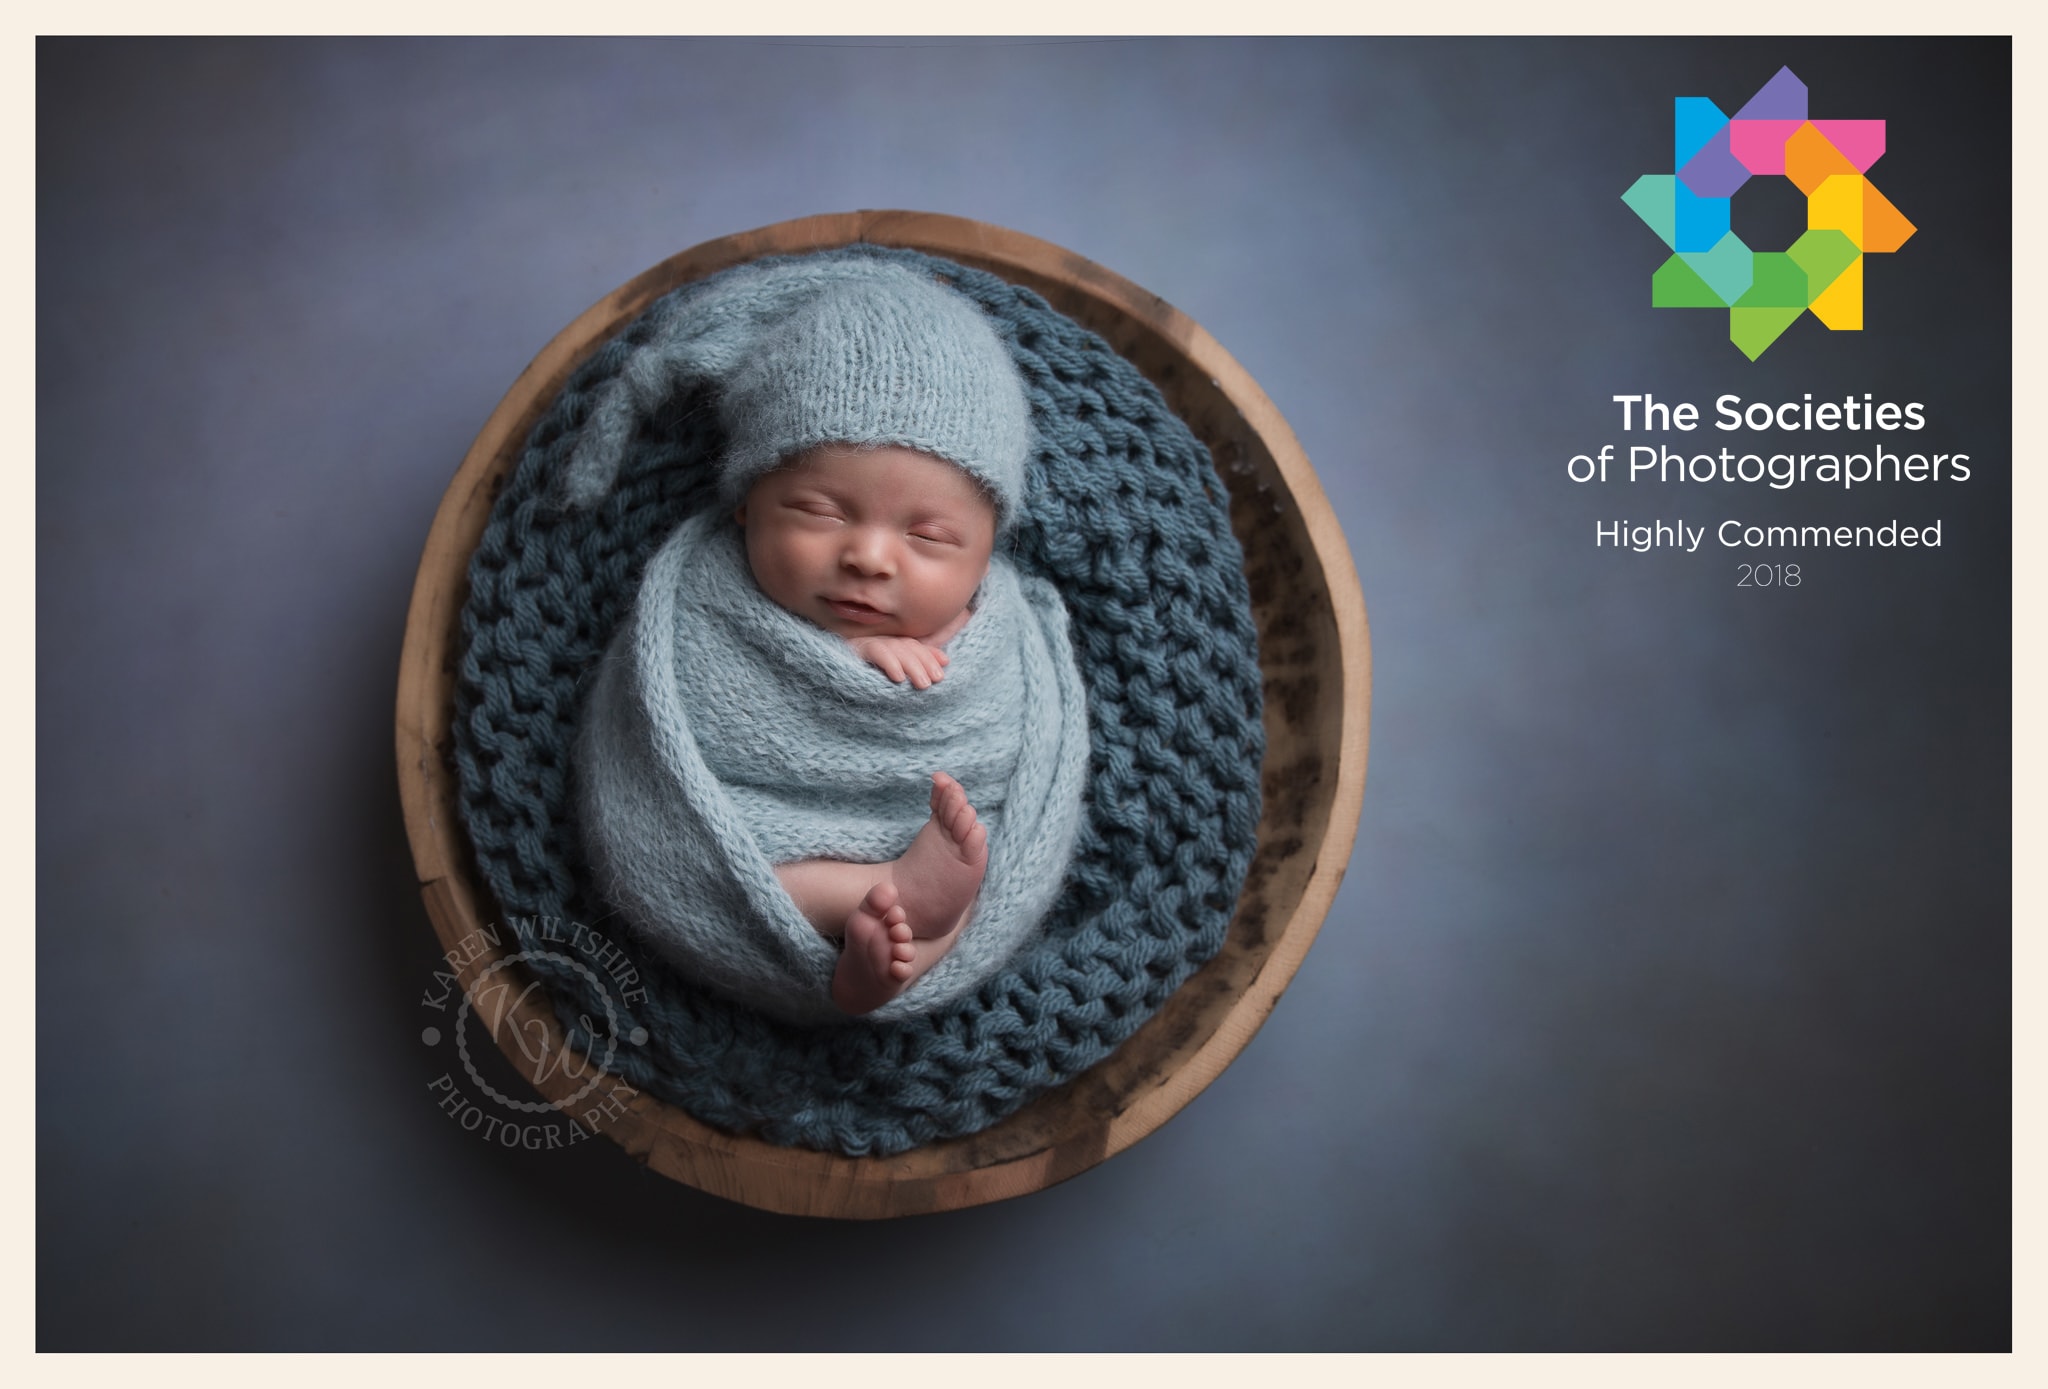
Well, if so, you’re in the right place. In today’s blog, I’m lifting the lid on the goings-on behind the scenes here at KW Photography, so that you have a really good idea of how I create the beautiful and creative newborn portraits like the ones shown in my newborn gallery.
What happens during a newborn baby photoshoot
Step 1: On the day of the baby photo session
When you arrive at my photography studio in Broadstone, Poole, you’ll be given a warm welcome and there will be plenty of time for you and your baby to settle and relax. You’ll be shown around the studio, offered drinks, we’ll sort the necessary paperwork and you’ll be given the chance to ask any final questions before I begin.
We’ll have previously talked about any preferences you have – such as the colours you’d like me to use in the photos – but we’ll chat about this again, and also more generally. You’ll tell me when your baby last fed, how they seem on the day and do feel free to mention anything else too.
You’ll notice that the studio is warm when you arrive, so dress in light layers. I tend to heat the studio to approximately 24 degrees for newborn sessions since your baby will be undressed and needs to be kept warm. I’ll lower the temperature slightly once they are wrapped (see step 3) and ready to be photographed.
Step 2: I settle the baby to sleep
As soon as you and the baby are comfortable, I’ll get started.
I’ll take your baby from you and then start settling them to sleep so that I can take the adorable ‘sleeping baby’ style photos that you’re after.
I do this rather than you so that we don’t disturb the baby once they are sleeping by moving them around and between us. It sometimes doesn’t take much to wake a baby!
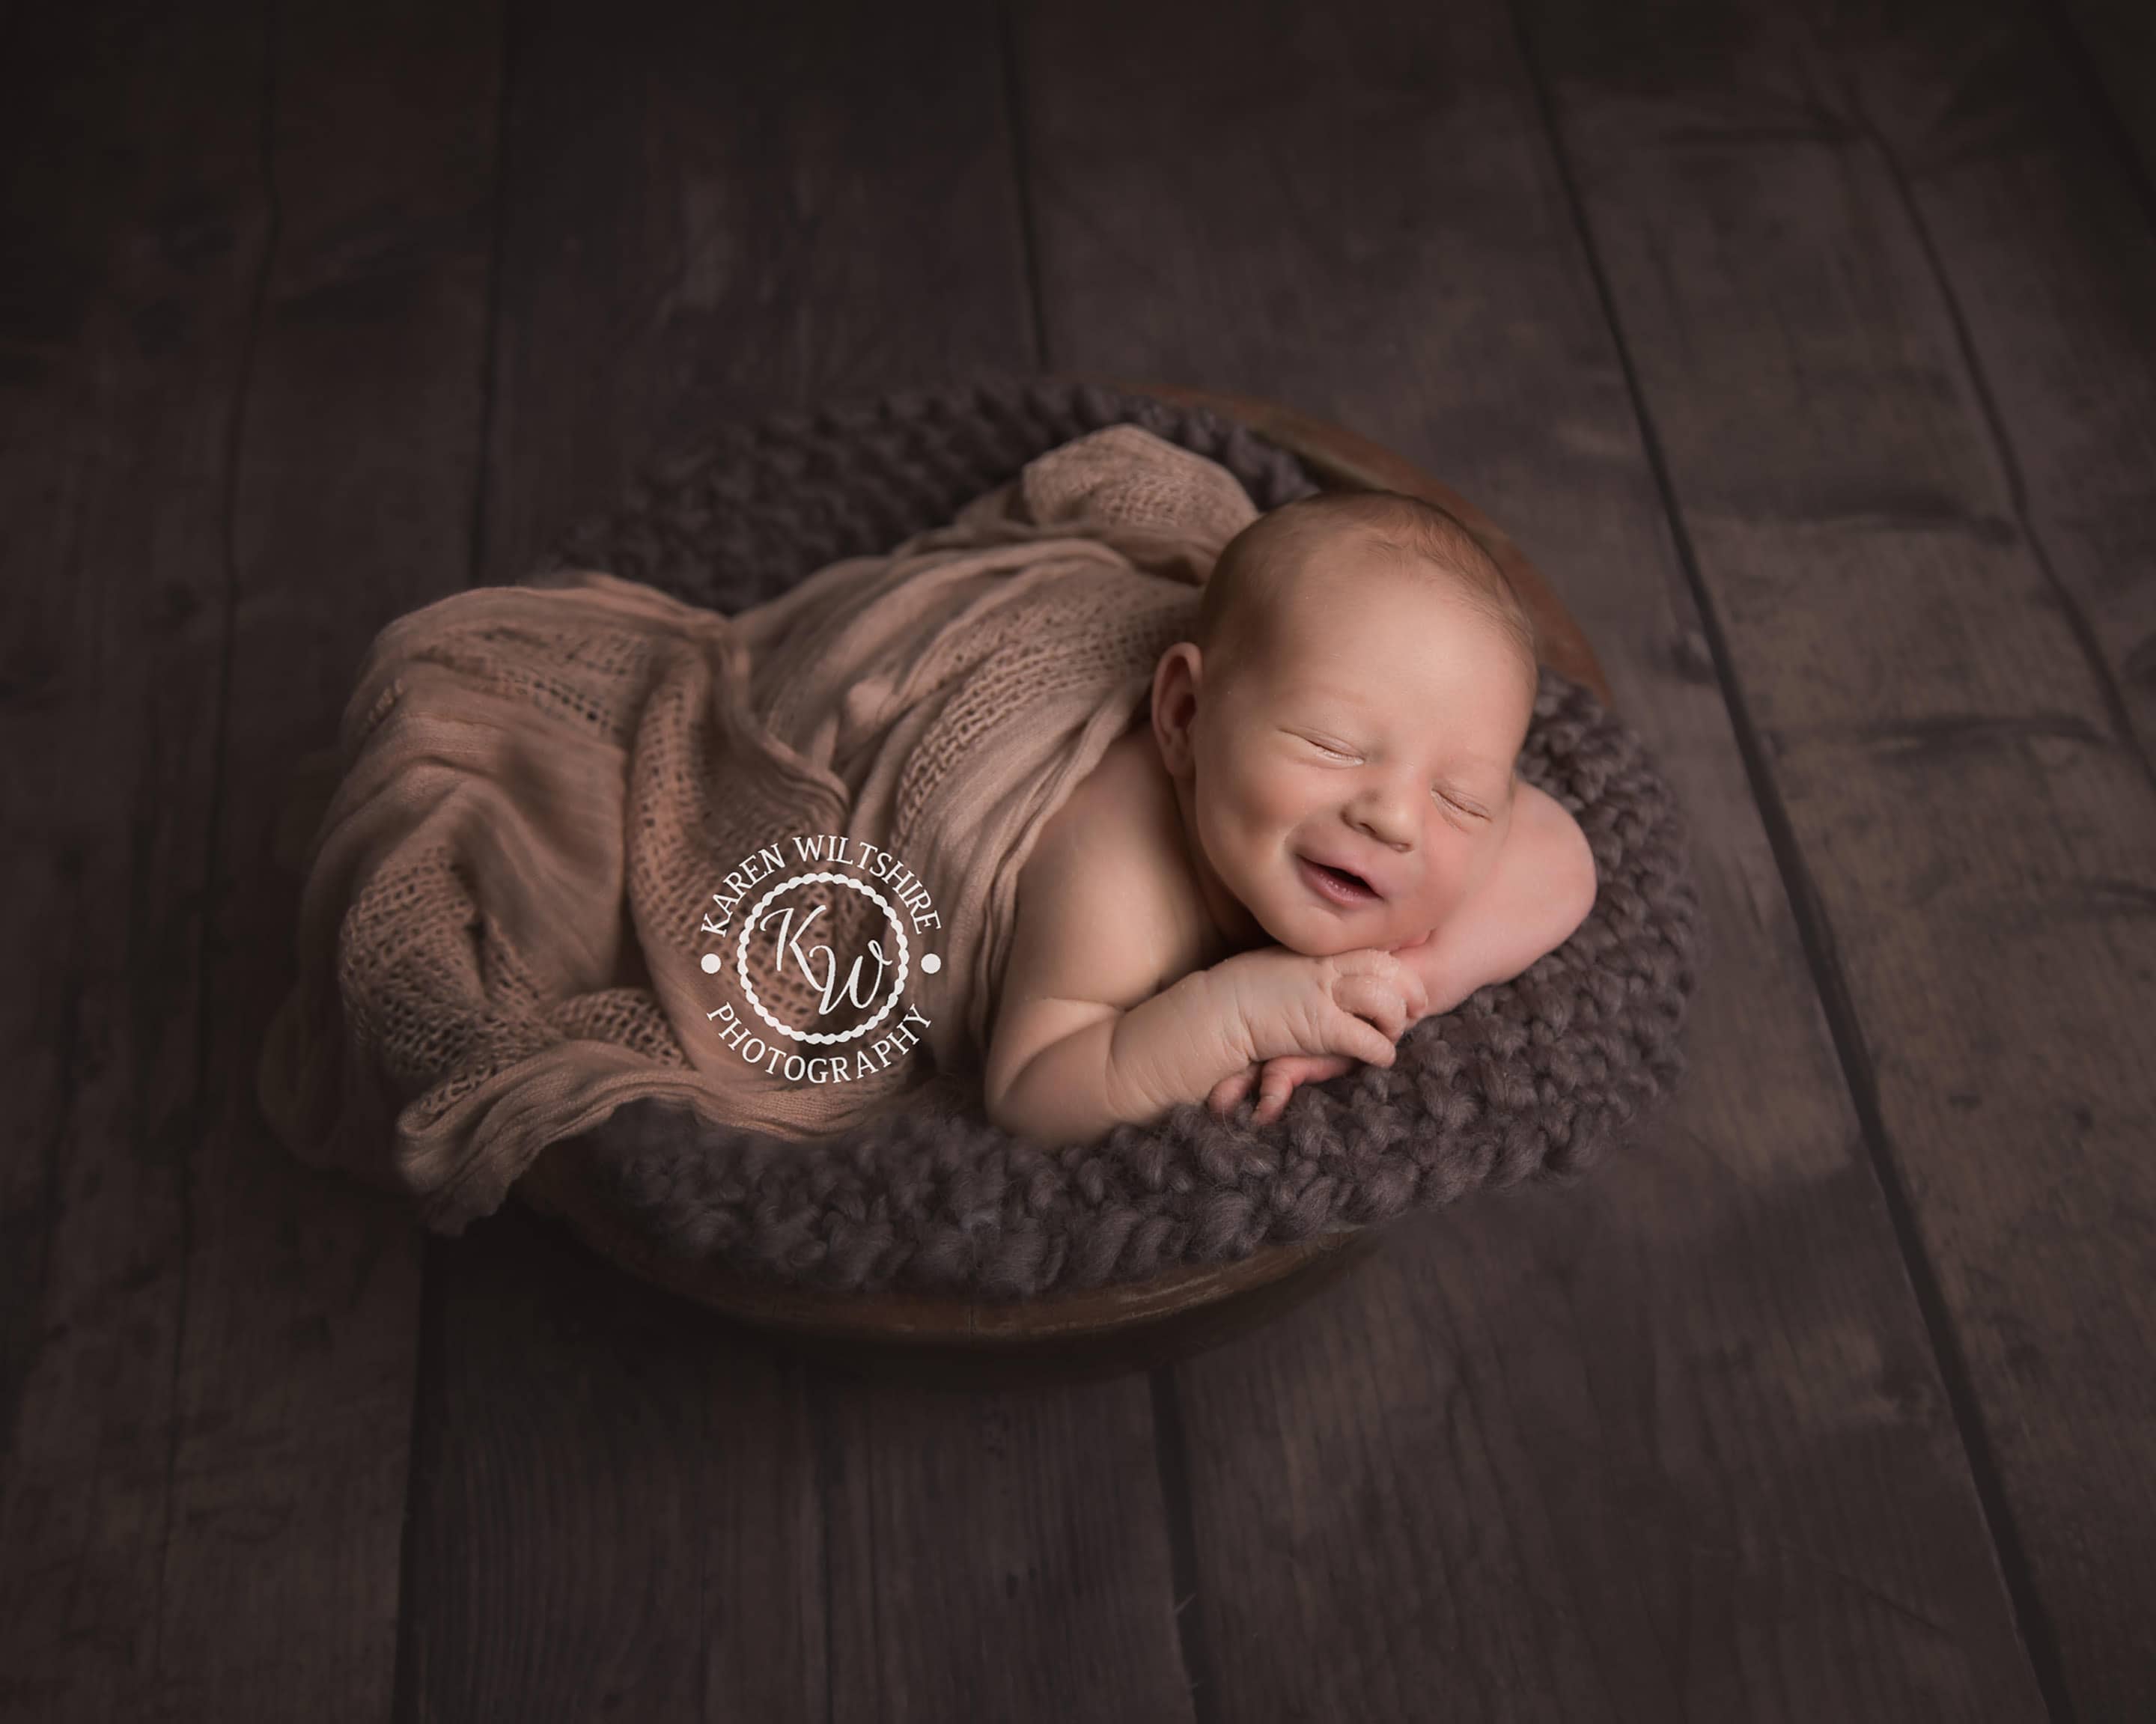
Step 3: The baby is swaddled
Since babies like to be swaddled, once your baby is sleeping, I’ll wrap them to make them feel safe and secure. I use a skin-coloured stretch wrap and then, on top of that, a second wrap which is what you’ll see in the photos.
While doing this, I’ll be careful to make sure your baby is comfortable and that the feet and hands are positioned as I’d like them.
The safety of your newborn is my number one priority, so everything I do during the session will be done with this in mind.
Related reading: I’m Newborn Photographer of the Year
Step 4: The baby is positioned ready to be photographed
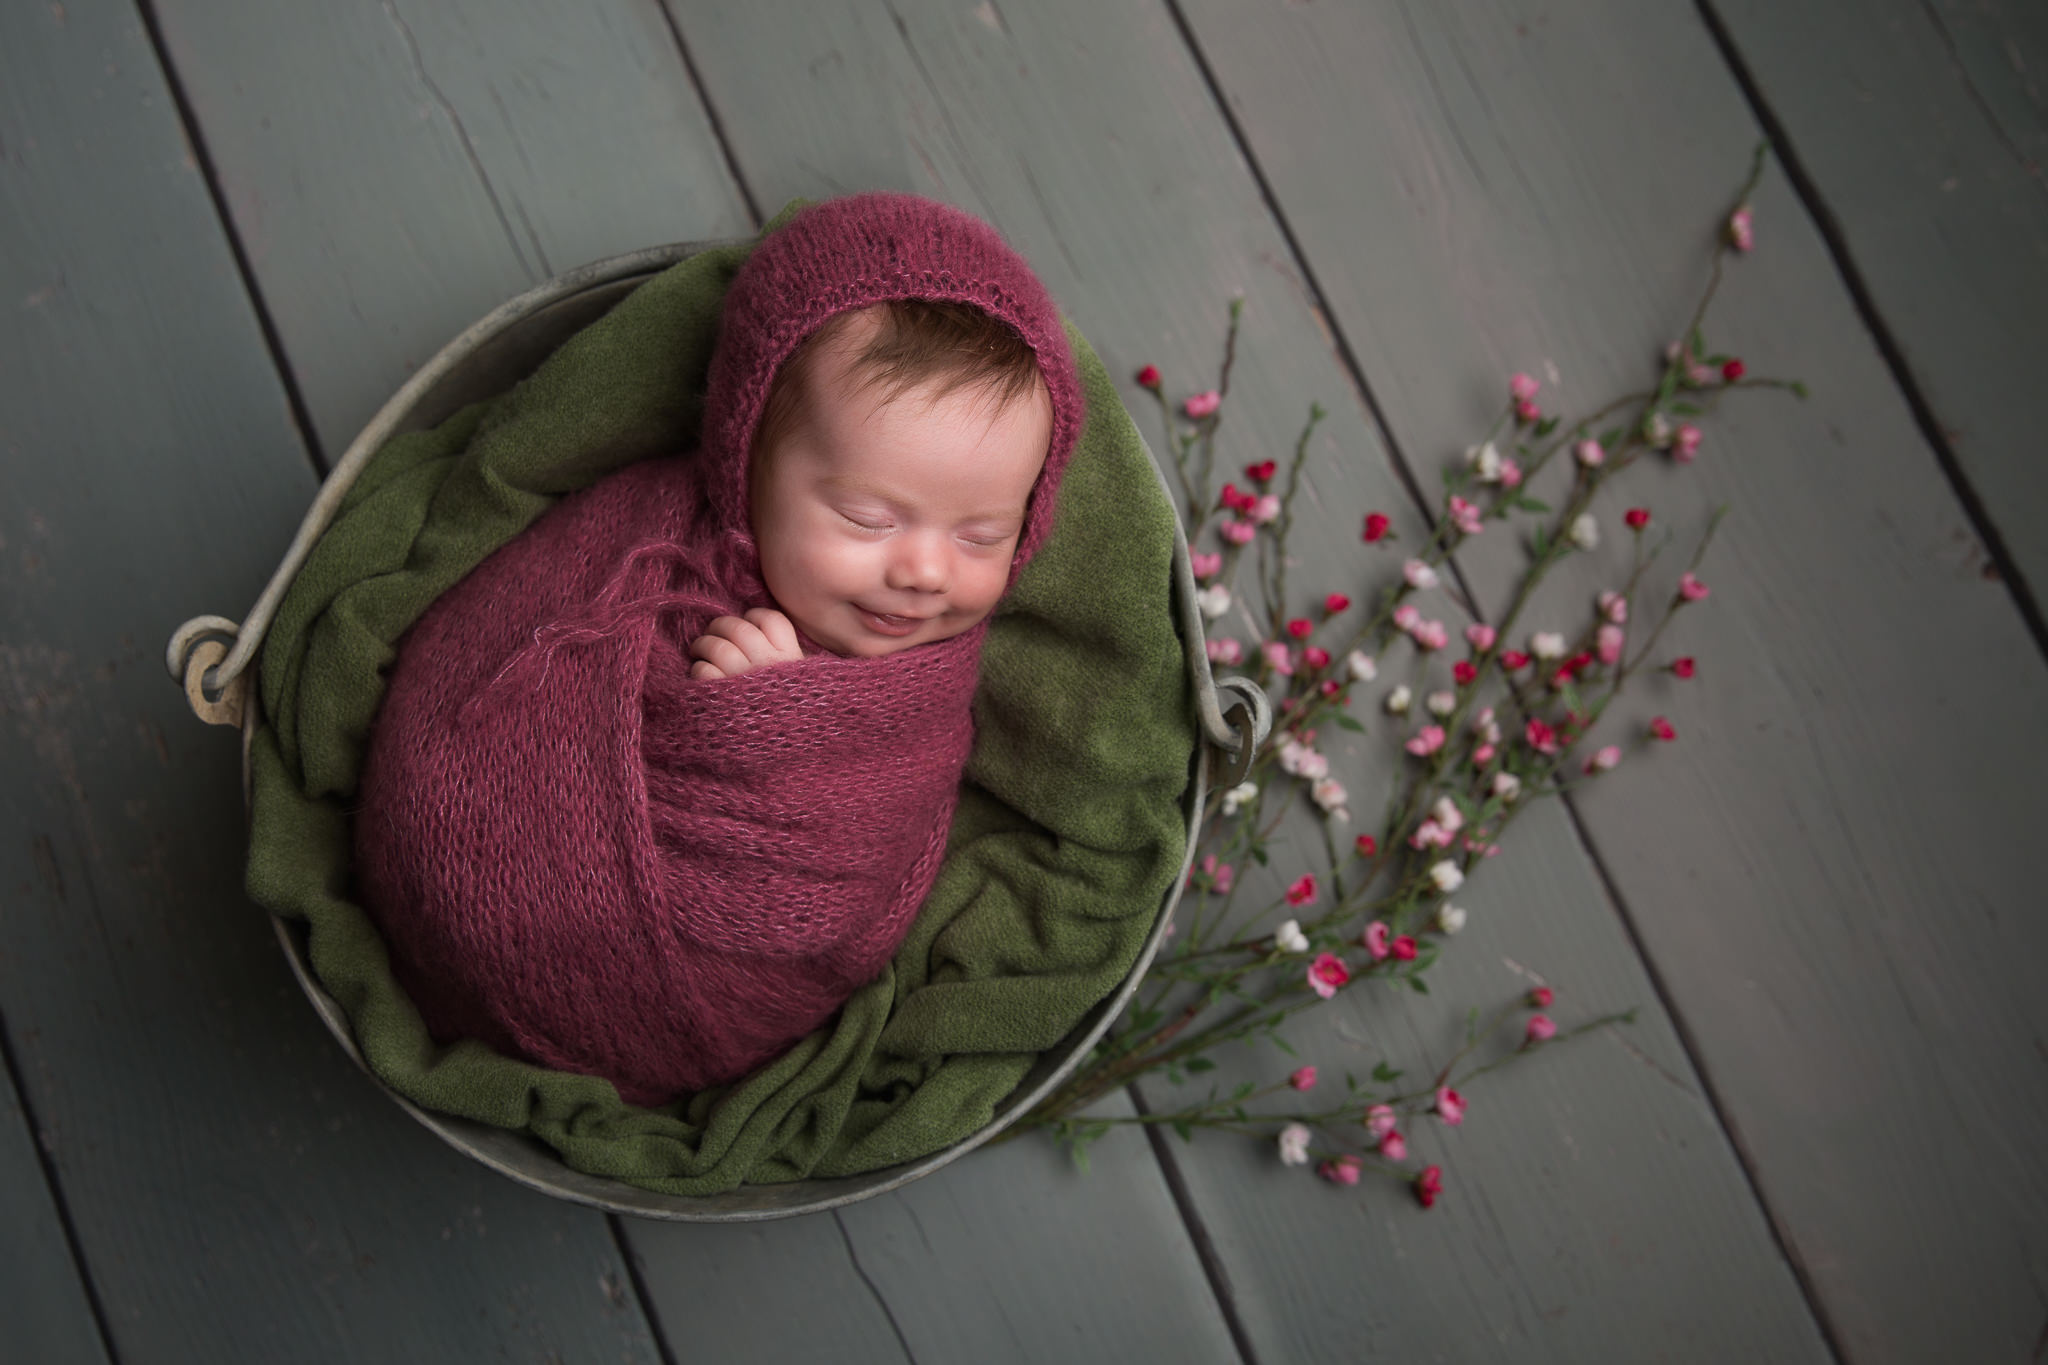
Once this is done, I’ll then position them in the prop I’m planning to use. This may be a cushion, a bucket, a basket – I have a huge variety of props in the studio.
And, just to reassure you, I’ll ensure that there is no risk of your baby falling, rolling or tipping out of the prop! All the baskets are weighted so that there is no risk of that.
For the more complex positions, I may ask you to support the baby with your hands while I take the photograph. But don’t worry, I edit your hand out of the photograph in the image processing stage later.
Step 5: I take a variety of photos
For each setup that I do (and I‘ll create several during your session), I’ll take a lot of photographs so that you have a variety of images to choose from.
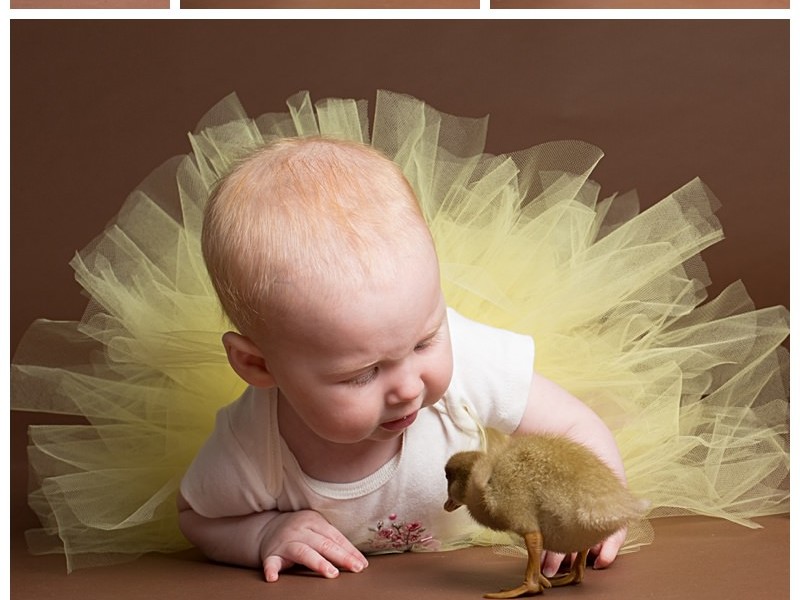
- I’ll include detailed close-up shots – capturing the baby’s teeny tiny fingers and toes and, if I’m lucky, I may catch an adorable smile or yawn.
- I’ll also take photographs from a wider angle. It’s likely that you’ll see me adjusting my lighting as I work, in order to create different looks too.
You’ll notice that I keep my setups and colour schemes simple. With newborn babies, it’s best to keep the styling like this so that the focus is on the baby. I use gorgeous colours and soft fabrics that are soft to touch and cosy for my newborns.
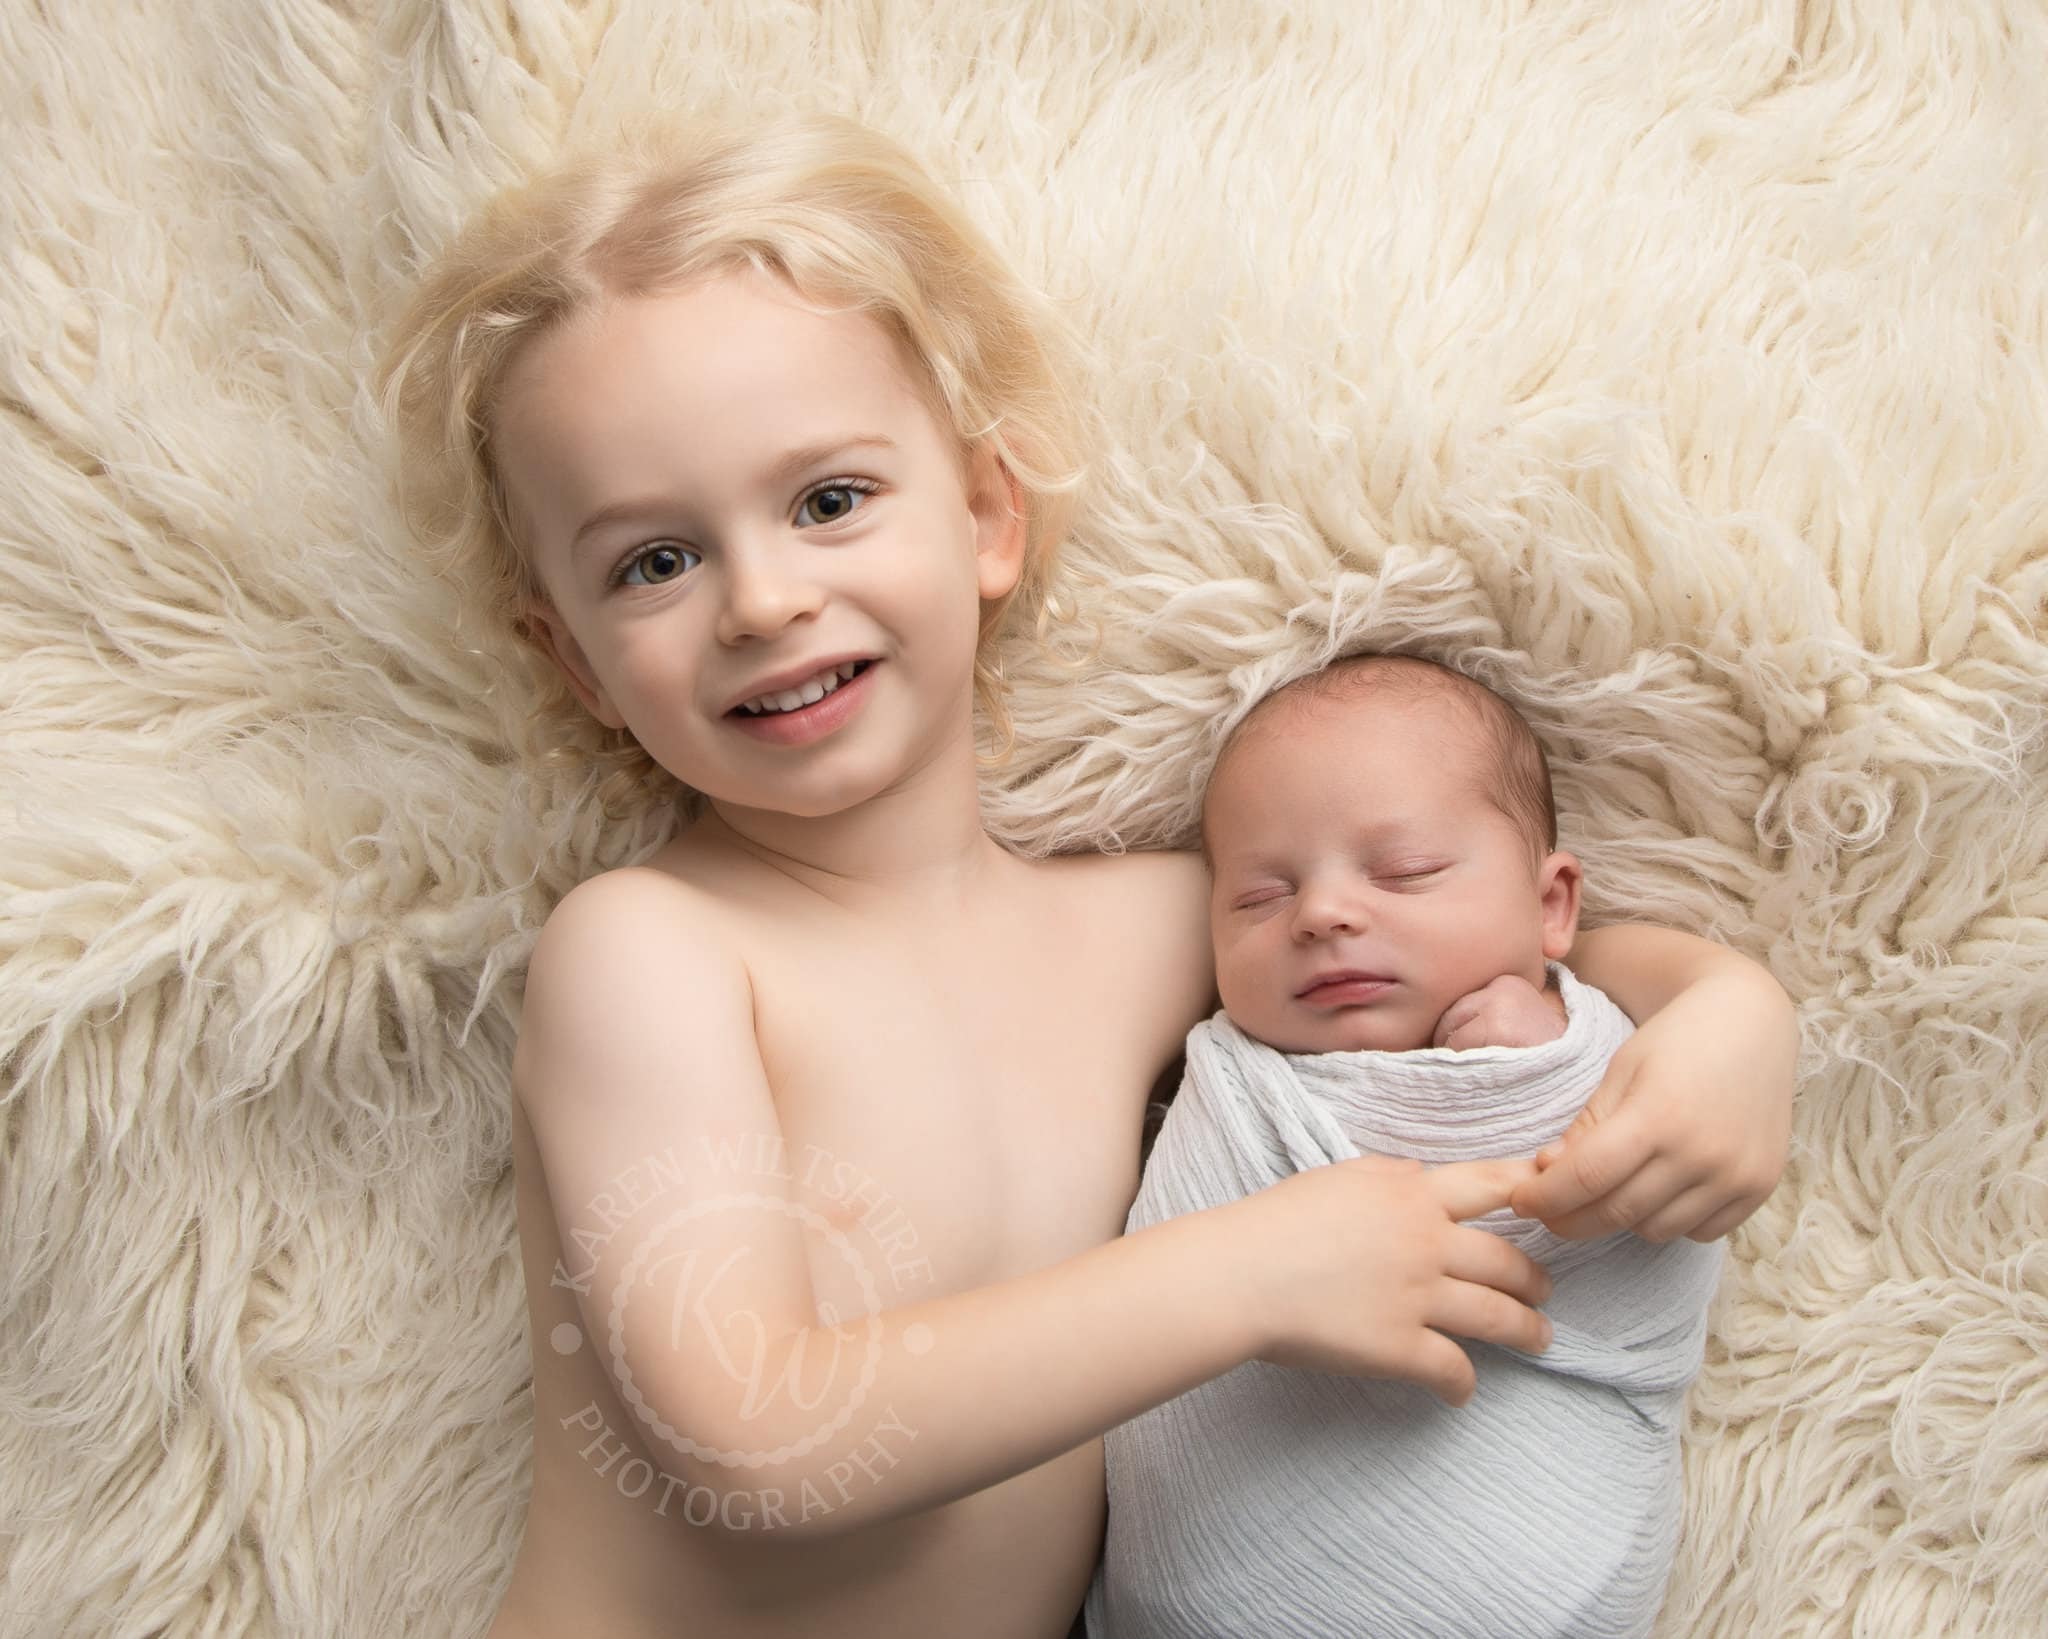
Once I’ve captured those adorable prop setups, I move the baby to the bean bag posing area and get the lovely sleepy unwrapped photos too. If siblings are involved, then their star moment is guided by their age and their ability to cuddle their new sibling safely. So, I might suggest we start with sibling shots or I may suggest that we leave them to settle in the studio for a while before involving them in any photos.
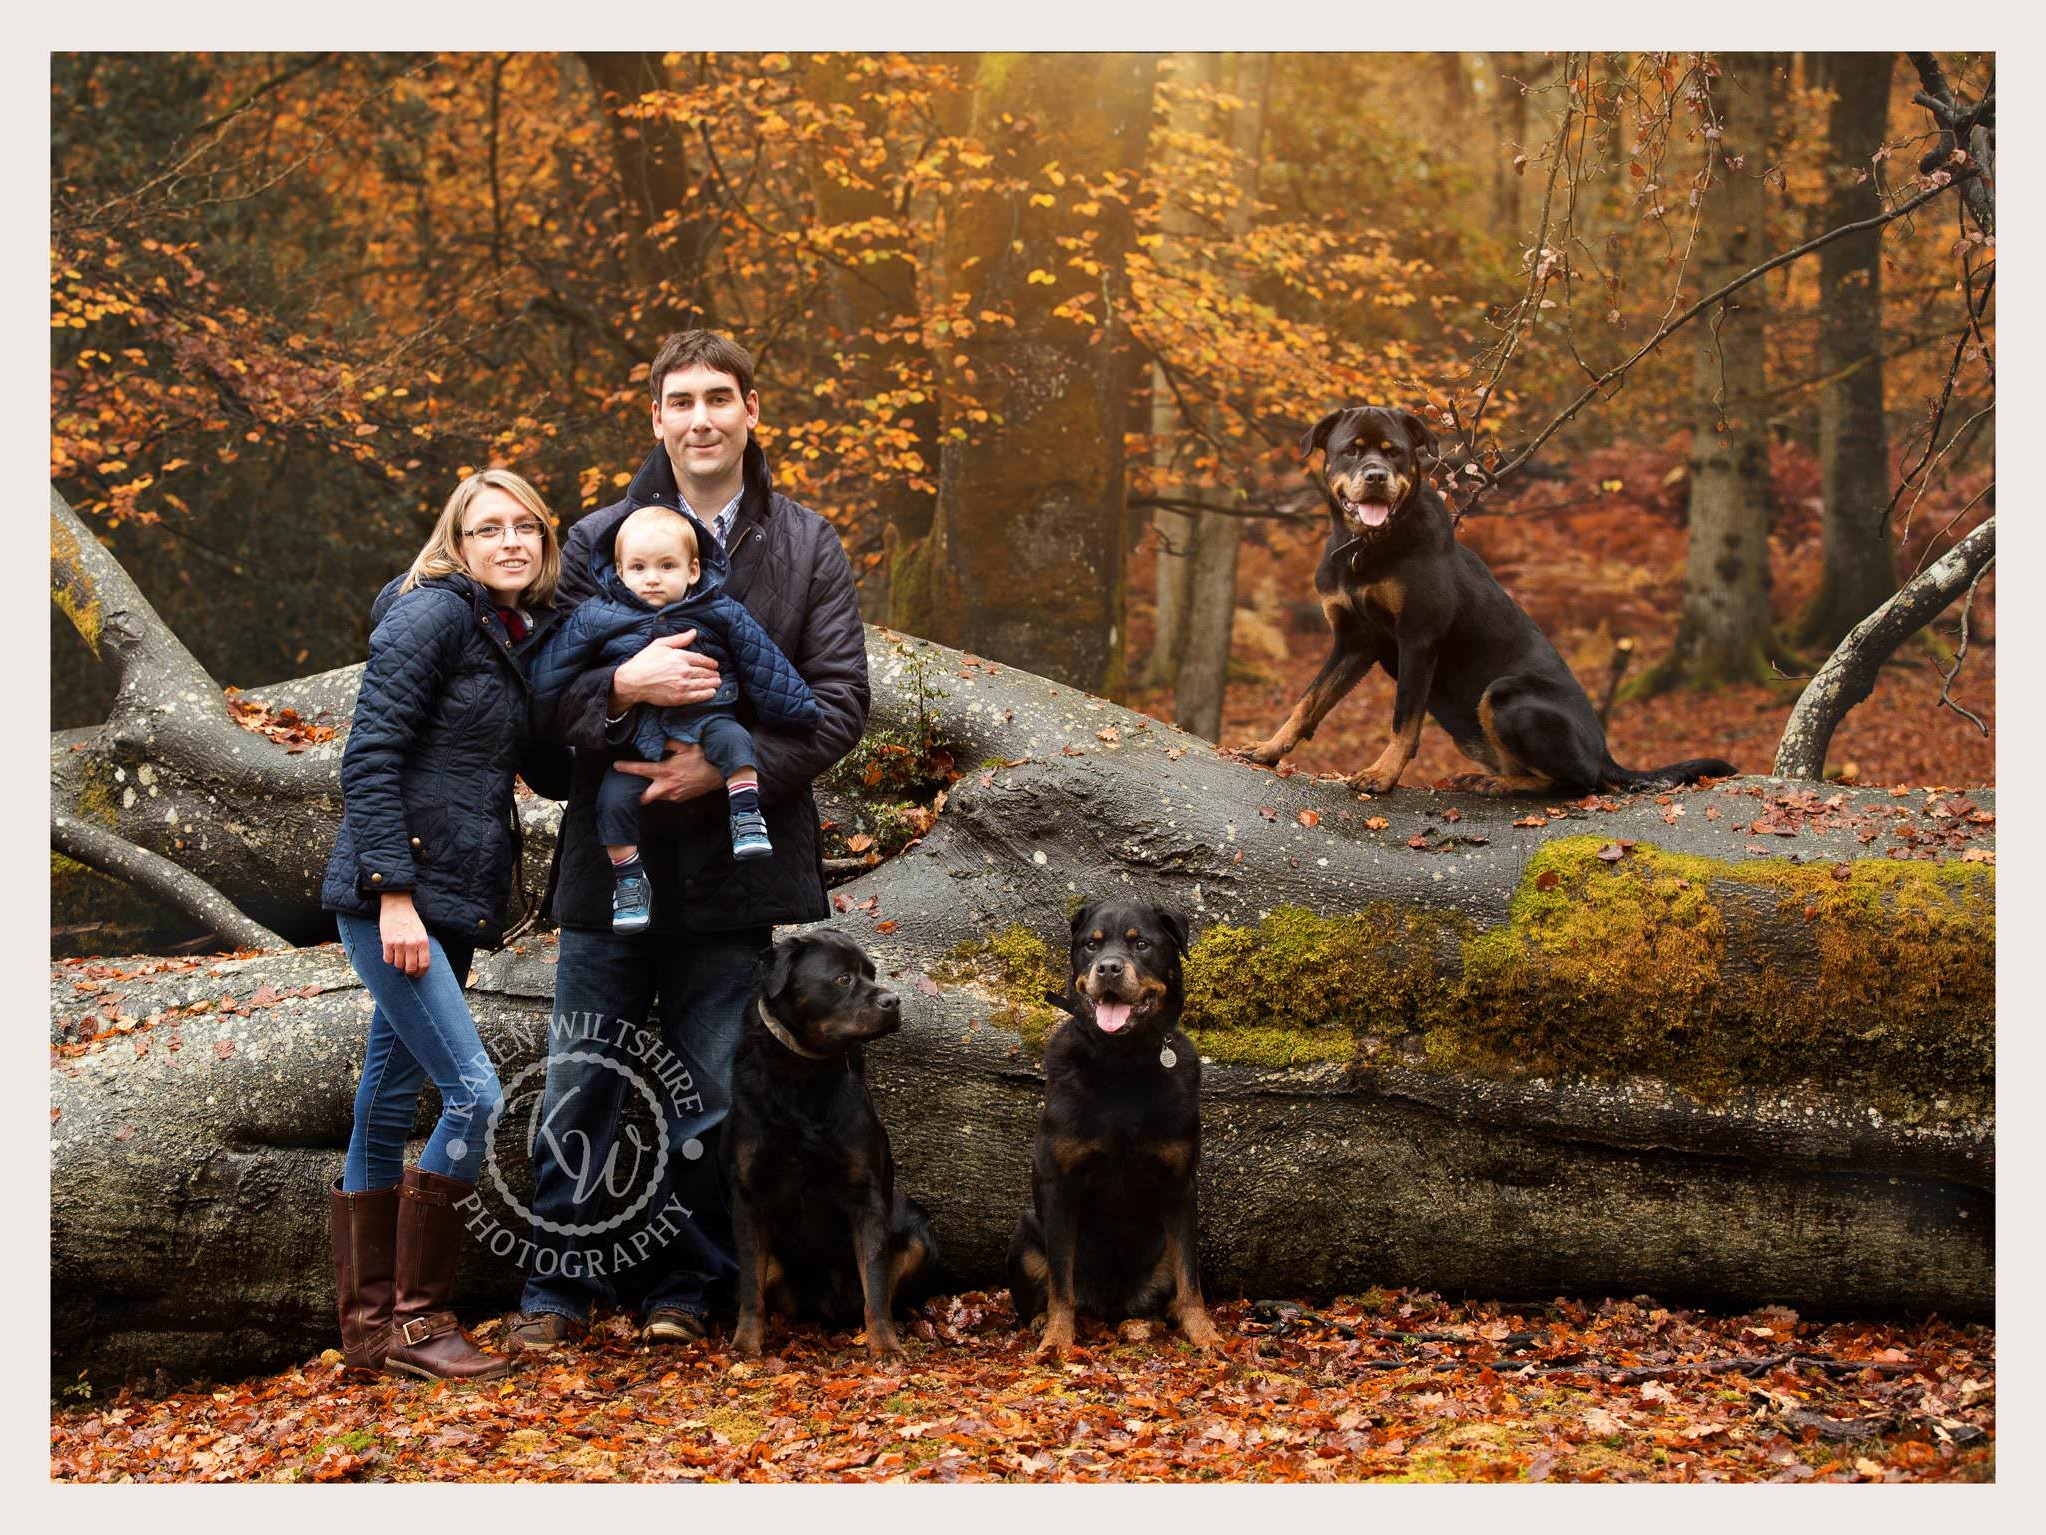
Usually, I do family and parent shots at the end of the session as your baby may be awake by then, and they don’t need to be asleep if they are being cuddled by mummy and daddy.

Step 6: After your newborn baby photoshoot – Editing
Once you’ve returned home, I’ll begin working on the editing of your baby’s portraits. You can find out why professional photographers edit their photos here.
I don’t manipulate the images to the extent that your baby will look unnatural or plasticky – this would go against everything that I stand for! I’m all about natural baby photos and don’t believe in editing out all the baby’s imperfections – these are completely normal with newborn babies.
However, I do edit out the odd stray hair and some of the patches of red skin or where the skin is flaky. Your baby may also have milk spots.
Plus, in setups when parents have provided support to the baby’s head, I’ll edit out their hands. Clever, right?
Step 7: Viewing and ordering your newborn’s portraits
Once your image gallery is ready to view, I’ll send you a link to your online gallery. Or, if you prefer, we will have arranged an appointment for you to return to the studio to view the images on the large screen in my studio.
This viewing and ordering appointment is a great chance to get my help with selecting images from the gallery that you would like to buy. And I can give you advice on photo products and wall art (but don’t worry, it won’t be a hard sell!)
My newborn photography prices are available to view on my website, and images start from just £295 for ten photos on a bespoke USB.
Behind the scenes of a newborn baby photoshoot
So, I hope that insight into what happens during a newborn baby photoshoot has been useful?
To book your baby’s newborn session, please contact me. Please aim to book as early as possible – ideally around the time of your 20-week scan.
Bye for now,
Karen x